
Email Input Validation using HTML, CSS, & JavaScript with custom validation error message
Hello coders! We are talking about Email Input Validation using HTML, CSS, and JavaScript and today In this tutorial, we will learn How to do Email Input Validation using HTML, CSS, & JavaScript with Input custom validation error message design using CSS.
Here we make an awesome, minimal Email Input Validation design with custom error message. So let’s see How to validate an email address in HTML and JavaScript?
Email Input Validation with custom validation error message!
Introduction:
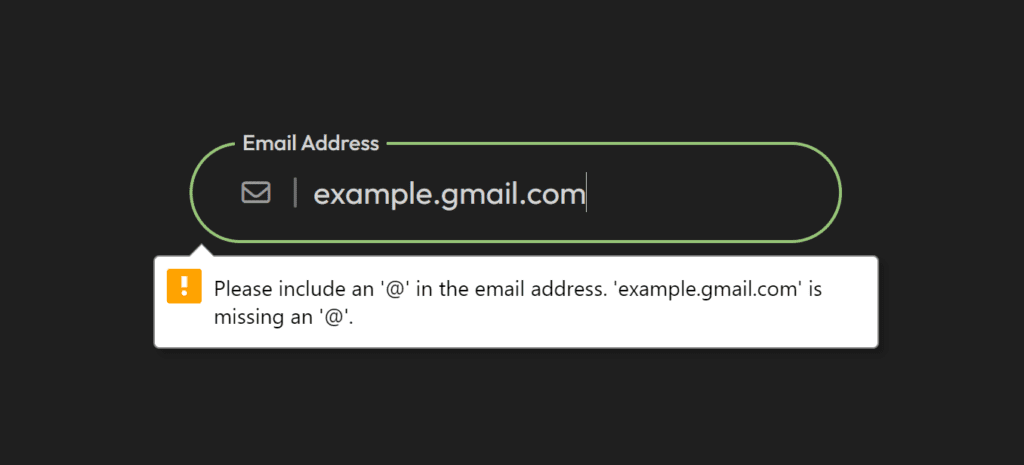
You must have seen many such websites where there is a signup form and a login form, in that you must have seen the email input field. if you ever enter the wrong email format, a popup message will show that your email format is invalid.
When the message of invalid format is shown in the email input or form, then its UI design looks different so that the user understands that he has typed some wrong email format, after that the User tries to type the correct email format until his/her email format is correct.
After typing, when the user successfully submits the email by clicking the submit button, a popup message of a successful submission is also shown, and during this time the Form UI Design also looks different so that the user confirms that he has successfully submitted his/her email.
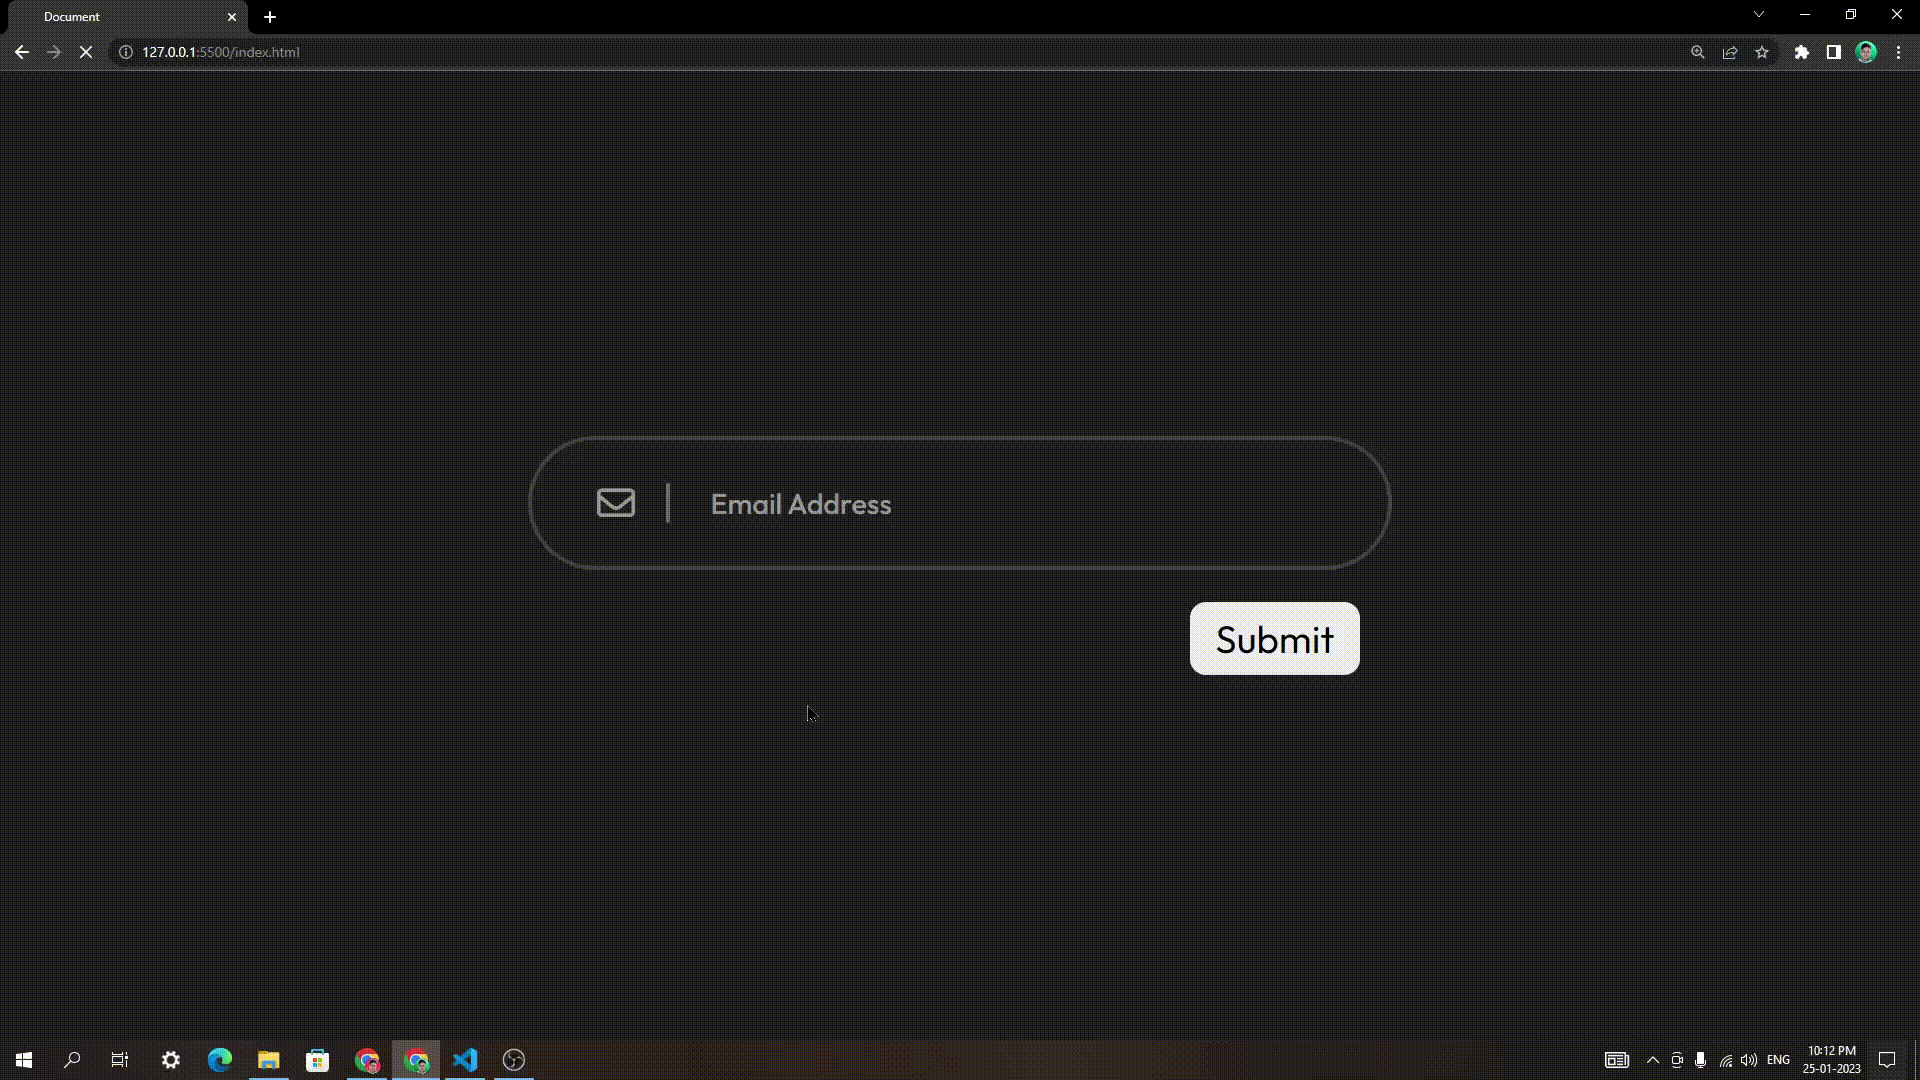
Preview of Email Input Validation with a custom toast message.
Steps to create an Email Input Validation using HTML, CSS, & JavaScript with Custom Error Message
We will build Email Input Validation in mainly 3 steps, they are
Step 1: Create the basic structure of Email Input and custom error message using HTML
Write HTML for adding the form, input type email, label, paragraph, button, font-awesome icon, etc.
First, create an index.html file. Follow the instruction below.
Add HTML boilerplate, then inside the head tag link your CSS file, add font-awesome CDN for icons. Then inside the body tag create a form with <form> tag.
Link your JavaScript file after the closing tag of the body.
html<!DOCTYPE html> <html lang="en"> <head> <meta charset="UTF-8" /> <meta http-equiv="X-UA-Compatible" content="IE=edge" /> <meta name="viewport" content="width=device-width, initial-scale=1.0" /> <link rel="stylesheet" href="style.css" /> <link rel="stylesheet" href="https://cdnjs.cloudflare.com/ajax/libs/font-awesome/6.2.1/css/all.min.css" integrity="sha512-MV7K8+y+gLIBoVD59lQIYicR65iaqukzvf/nwasF0nqhPay5w/9lJmVM2hMDcnK1OnMGCdVK+iQrJ7lzPJQd1w==" crossorigin="anonymous" referrerpolicy="no-referrer" /> <title>Document</title> </head> <body> <form class="form"></form> </body> <script src="main.js"></script> </html>
Second step of HTML
Inside the form create a div form input container, inside this div add a input type="email", label for email input, and i which is for Email the font-awesome icon.
Also create two span add font-awesome icon and paragraph inside this span. These are our input validation custom error messages, one will be shown when user type wrong email format and other one will be shown when user successfully submitted the form. After div create a button which will be our submit button.
How do you show Input Validation Error Message in HTML?
The very simplest way to validate any input field and show input validation error message in HTML by using required attribute. The feature of this attribute is it makes an input field necessary or mandatory to fill. When user would not filled it or input is empty, then a error message will show at that time.
html<input type="email" required />
In this HTML part of email input validation you need to add required attribute to input tag. So that it will be mandatory for the user to fill the input field.
Add class names, and IDs in each element as exactly given the HTML code.
html<body> <form class="form"> <!-- input container --> <div class="input-container"> <input type="email" name="" placeholder=" " class="input-field" id="email-input" autocomplete="off" required /> <!-- input label - which will animate while focus on input --> <label for="email-input">Email Address</label> <!-- email icon - font-awesome --> <i id="email-icon" class="fa-regular fa-envelope"></i> <span class="toast-msg" id="invalid-toast"> <i class="fa-solid fa-circle-exclamation"></i> <p>Please enter the correct email format!</p> </span> <!-- email successfuly submit message --> <span class="toast-msg success" id="success-toast"> <i class="fa-solid fa-check"></i> <p>Great! your email successfuly submitted.</p> </span> </div> <button class="submit-btn">submit</button> </form> </body>
Copy all the HTML code of the Email Input Validation project, and paste it into your HTML file.
Read also: Interactive Sign Up form using HTML, CSS, and JavaScript
Step 2: Add style and design Form, Email Input and custom error message using CSS
Write CSS for styling form, input, button, font size, border, texts, paragraphs all these elements and give an amazing design.
First, create a style.css file. Follow the instruction below.
Styling form, input and container
css@import url("https://fonts.googleapis.com/css2?family=Outfit:wght@300;400;500;600&display=swap"); * { margin: 0; padding: 0; box-sizing: border-box; font-family: "Outfit", sans-serif; } body { position: relative; width: 100%; height: 100vh; display: flex; justify-content: center; align-items: center; background: #1f1f1f; } .form { position: relative; width: 33rem; height: auto; padding: 3rem; background: #1f1f1f; } .input-container { position: relative; width: 100%; height: auto; border-radius: 3rem; display: flex; align-items: center; flex-direction: row; justify-content: center; background: #1f1f1f; /* box-shadow: 0 0 30px rgba(0, 0, 0, 0.461); */ } .input-container::before { position: absolute; content: ""; height: 30%; width: 0.12rem; left: 16%; border-radius: 0.5rem; background: #707070; } .input-container .input-field { position: relative; max-height: 4.2rem; padding: 1.8rem 2.5rem; padding-left: 5rem !important; border: 0.15rem solid rgb(68, 68, 68); color: #d2d2d2; outline: none; border-radius: 3rem; font-size: 1.3rem; font-weight: 400; width: 100%; background: transparent; transition: border-color 0.3s ease; cursor: pointer; }
Styling icons, input border and input label - move placeholder to top on focus
css.input-container label { position: absolute; top: 50%; left: 20%; transform: translateY(-50%); font-size: 0.9rem; transition: 0.3s ease-in-out; font-weight: 500; color: #999999; padding: 0 0.3rem; user-select: none; } #email-icon { position: absolute; left: 8%; top: 50%; transform: translateY(-50%); color: #999999; font-size: 1.2rem; } .input-field:focus + label { top: 0%; left: 7%; background-color: #1f1f1f; color: #d2d2d2; } .input-field:focus { border-color: #96c477; } .input-field.invalid { border-color: #ff654a; } #email-input:not(:placeholder-shown)#email-input:not(:focus) + label { top: 0%; left: 7%; background-color: #1f1f1f; color: #d2d2d2; } #email-input:not(:placeholder-shown)#email-input:not(:focus) { border-color: #96c477; }
Styling email input validation custom error message and submit button
css.toast-msg { position: absolute; left: 8%; top: 100%; display: flex; flex-direction: row; align-items: center; margin-top: 0; opacity: 0; transition: 0.3s ease; } .toast-msg.active { margin-top: 0.5rem; opacity: 1; } .toast-msg p { font-size: 0.8rem; color: #ff654a; margin-left: 0.3rem; } .toast-msg.success p { color: #97e365; } .toast-msg i { font-size: 1rem; color: #ff654a; } .toast-msg.success i { color: #97e365; } .submit-btn { position: relative; padding: 0.4rem 0.8rem; font-size: 1.2rem; text-transform: capitalize; border-radius: 0.5rem; cursor: pointer; float: right; margin-top: 1rem; margin-right: 1rem; border: none; outline: none; background-color: #eeeeee; transition: 0.1s ease-in-out; } .submit-btn:active { transform: scale(0.95); }
Copy all the CSS code of the Email Input Validation project, and paste it into your CSS file.
Step 3: Add JavaScript to validate Email Input and show custom error message.
Write JavaScript to validate the email address, add a custom error message below the input field, and prevent form submit on enter key press, etc.
First, create an main.js file. Follow the instruction below.
Here we have created 4 const variables and stored specific elements are input, custom toast messages, and our main form in these, we will use them in the next step.
javascriptconst emailInput = document.getElementById("email-input"); const invalidMsg = document.getElementById("invalid-toast"); const successMsg = document.getElementById("success-toast"); const form = document.querySelector(".form");
Email address validation Function in JavaScript
We have created here a function called validateEmail(). In this email address validation function we will check email value is on correct format or not. The correct email address format/pattern in JavaScript is /\S+@\S+.\S+/
javascriptfunction validateEmail(emailValue) { let value = /\S+@\S+\.\S+/; return value.test(emailValue); }
Disable/Remove default input validation error message and add custom error message in JavaScript
First we have created an event listener to the email input field, called invalid and it has a function that will be executed when the input field receives an Invalid/ERROR value.
In this function, we have applied the if()else condition, basically here we are checking the input field value’s validity mismatch or value missing by using validity.typeMismatch and validity.valueMissing
When the conditions are true, the custom invalid message will be active, else valid/success message will appear.
Then we have also added an event listener to the email input field, called input, and it has a function which is for while the user is typing in the email input field the custom invalid message will be not shown.
javascriptemailInput.addEventListener("invalid", function (e) { let inputValue = e.target; console.log(inputValue.validity); if (inputValue.validity.typeMismatch || inputValue.validity.valueMissing) { inputValue.setCustomValidity(" "); invalidMsg.classList.add("active"); successMsg.classList.remove("active"); this.classList.add("invalid"); } else { invalidMsg.classList.remove("active"); successMsg.classList.add("active"); this.classList.remove("invalid"); } }); emailInput.addEventListener("input", function () { invalidMsg.classList.remove("active"); this.classList.remove("invalid"); });
If you have noticed that we have added inputValue.setCustomValidity(" "); here the value is blank! Due to this the default toast message of the browser will not be displayed.
The JavaScript recommends you set the custom text in the default toast message using inputValue.setCustomValidity(" "); here a custom message in a sentence But we would not show it because we have designed our custom invalid message.
Disabling form submit on Enter key press
At last in JavaScript, we have to disable the form submit when the user clicks the enter key on their keyboard because in this project we have created a submit button to submit the email.
How do I stop form submit on enter key press?
To Prevent form submit on enter key press, create an event listener to the HTML DOM document, called keypress. Add a function here and create a condition using JavaScript if()else statement, if the enter key code is matched it prevents the default action of pressing enter key at form submit time.
javascript// disable the enter key of your Keyboard, form submit only using Button document.addEventListener("keypress", function (e) { if (e.keyCode === 13 || e.which === 13) { e.preventDefault(); } });
Copy all the JavaScript code of the Email Input Validation project, and paste it into your JavaScript file.
CodePen preview of Email Input Validation using JavaScript
Conclusion
Copy all the source code of Email Input Validation with custom validation error message project.
This is all about How to do Email Input Validation using HTML5, JavaScript. We have learned How to validate email input in JavaScript? And also you have seen How to move placeholder to top on input focus. I hope you liked this project and enjoy it and learned something new. You can use it in your projects, also you can add it to your portfolio. If you have any queries related to this Project, let me know in the comments and contact me.